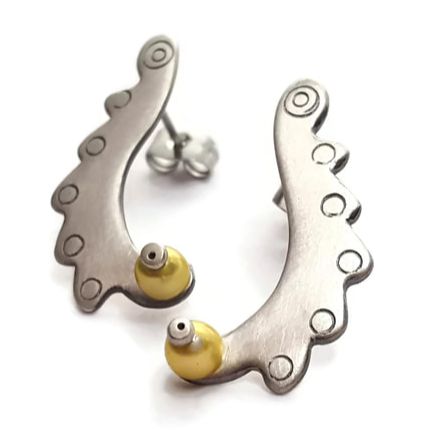
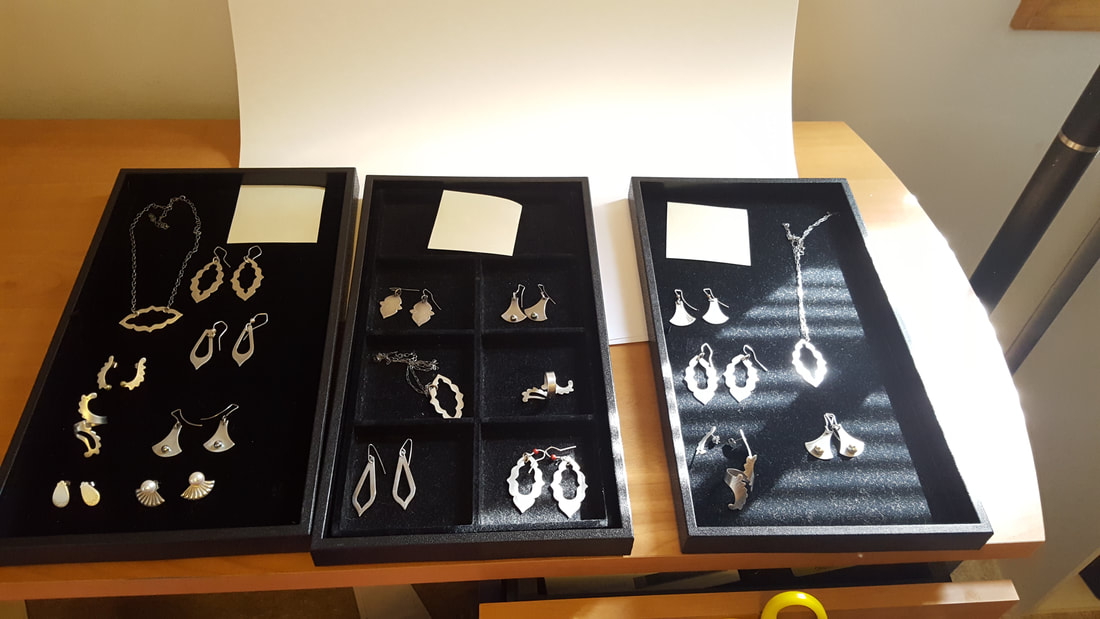
Hello! I've spent the last few days getting everything ready to send my new Winter 2017 collections off to a few galleries. As I was shooting photos, it struck me that most people likely don't know what an artist does between when a piece of handcrafted jewelry (or any other type of art) is finished and when it arrives at a gallery (or Etsy, Shopify, etc.). I'm going to take you on a quick tour of the work that I do after I finish a piece of jewelry, and give you a bit of insight into the "behind-the-scenes" life of an artist. Every maker will have a slightly different process, but I guarantee many of the steps are similar. So, if you ever balk at the price of a piece of artisan jewelry in a gallery or other venue, keep this in mind: When you buy a piece of art, you're recognizing and supporting the years of training and experience that goes into making that piece, not just the material and time spent on its creation. Enjoy! 1. When I finish the body of work, I decide which pieces will go to each gallery. For me, this usually involves spreading my work out on my desk and placing them into piles.
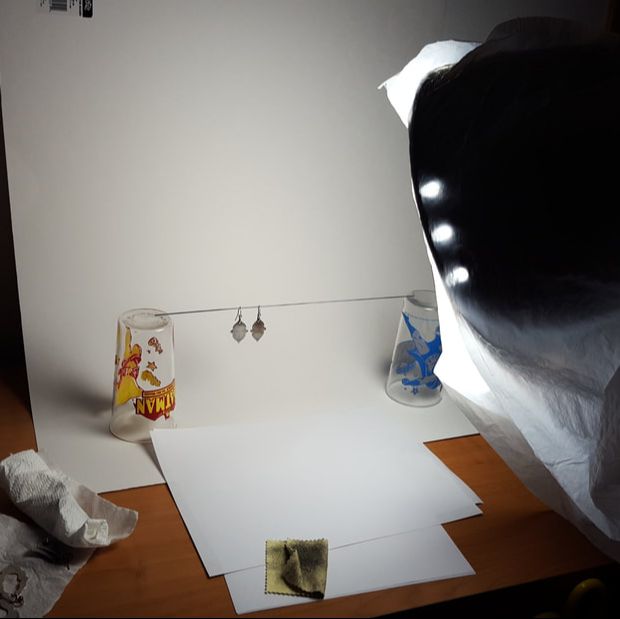
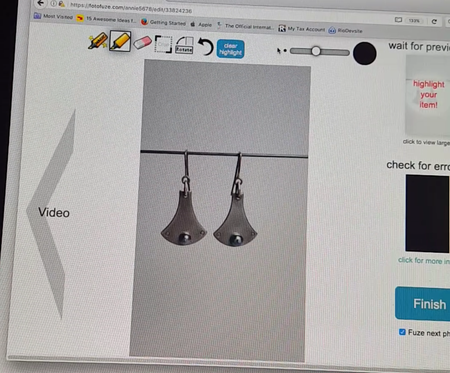
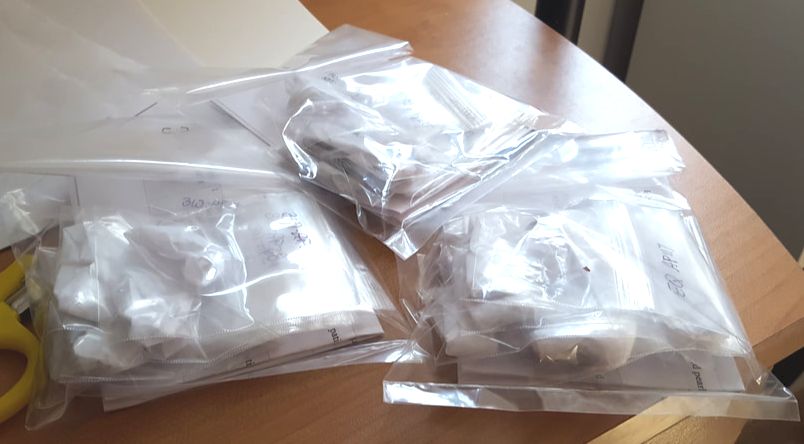
7. Next up is inventory. For each gallery, I assign every piece an item number based on the galleries' particular naming conventions. Then, I rename the photos to match the list. I include the item number, title, materials, dimensions, photo, and shipping date of each piece on the inventory list. Before I pack the work, I print two copies (one for my records and one to include with the jewelry), and make sure the digital copy is in the same folder as the corresponding folders.
My Winter 2017 collection is available at:
Equinox Jewelry Gallery (San Antonio, TX) 3rd Ward Jewelry (Milwaukee, WI) Paoli Road Mercantile (Paoli, WI) My shop (coming soon!)
8 Comments
3/3/2017 34 Comments Getting to Know Me ...
|
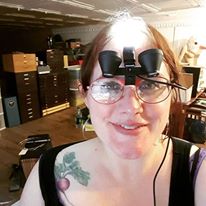
Meet Annie PenningtonWelcome! If we haven't met yet, I'm Annie Pennington, and I am an award-winning jewelry artist specializing in fabricated and sculpted metal and polymer clay jewelry. I was the Associate Editor for Art Jewelry magazine, and in all my free time, I produce jewelry-making video tutorials. Here you'll get a behind-the-scenes look into what goes into every piece I make just for you. ArchivesCategories |


 RSS Feed
All images and text are © Annie Pennington. All photos are by Annie Pennington unless otherwise specified.